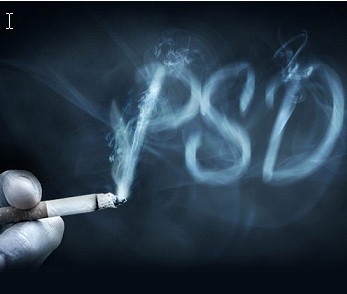
How to Create Smoke Text Effect Using Photoshop’s Non-Destructive Tools
Today’s feature is a Photoshop tutorial on how you can create a smoke text effect. Tom of PSDFAN has updated his previous tutorial on creating Smokey Typography, where the effect is more realistic than before and uses an updated workflow of Photoshop’s non-destructive tools which you can edit any time.
To start it up, create a layer and set toolbar foreground color to 49667a and background color to 1b2934. From that point, you will need to use different tools such as:
- Feather, Filter>Convert for Smart Filters
- Filter>Render>Clouds
- Reducing layer’s opacity to make clouds subtle
- Free font Dancing Script
- Filter>Blur>Motion Blur
- Hue/Saturation Adjustment Layer
- Clipping Mask, Blend Mode
- Color Dodge
- Opacity
- Layer Mask
- Soft black paintbrush for masking process
- Color Balance Adjustment Settings
- Levels Adjustment Layer Settings
- Color Overlay Blending Option
- Filter>Sharpen>Unsharp Mask
Check out the full tutorial and download its source files HERE.
Incoming search terms for the article:
- Create a Smoke Text Effect Using Photoshop’s Non-Destructive Tools
- teks efek tutorial
- photoshop edit text
- smoking text photoshop 7 tutorial;
- teks editing photoshop
- how to make web text effect
- how to create typography art in photoshop
- text to smoke font generator online
- editing foto effect dengan photoshop
- tutorial desain text effect photoshop


