Instant Blog with WordPress
WordPress is an open source CMS (content management system) that serves as one of the most popular and powerful blogging platforms on the Internet. However, when most Web denizens think “instant” blog, they think Blogger blogs at the Google-owned BlogSpot, which is WordPress’ chief competitor. Nevertheless, WordPress offers instant blogs as well, and we’re going to examine how to set one up.
1. Create a free WordPress account
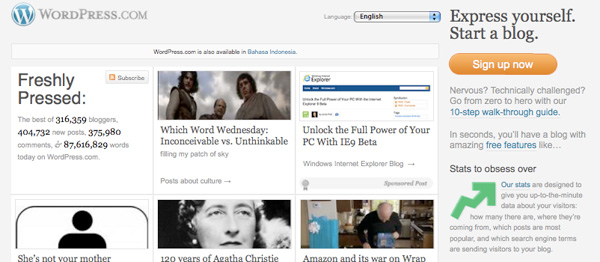
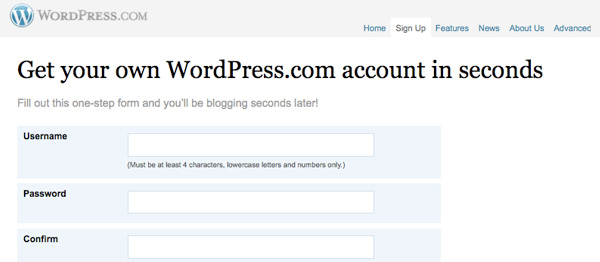
Navigate to wordpress.com, and select the large, orange “Sign up now” button in the upper-right corner. The registration process is quick and effortless, and wordpress.com has a strong privacy policy in place. At the bottom of the form, near the orange “Next” button, there’s a radio button labeled “Gimme a blog!” Select it, if necessary.
2. Define your new WordPress blog
First, you’ll need to select a domain name, and the wordpress.com subdomain will serve in place of an actual domain host. For instance, if you select the name “testblog,” the URL for your WordPress blog will be testblog.wordpress.com. Next, you’ll select the blog title. In many cases, this is the same as the subdomain name, but if you had to select “my_test_blog,” this is a chance to title it, “My Test Blog.”
Users cannot change subdomain names once they have selected them. However, they can transfer the blog to paid WordPress blog hosting or another cheap web hosting service. As an alternative, blog owners can simply purchase an actual domain name, but leave the blog hosted on WordPress’ free service. Users can change blog titles as often as they’d like in the dashboard (configuration panel).
3. Activate your WordPress account
When you complete the registration process outlined above, WordPress will send you an activation email. You’ll need to connect to wordpress.com through the link provided in that email in order to access your new blog. If you don’t see it, check the spam folder.
4. Fine-tune your instant WordPress blog via the dashboard
When you log into your new blog, the system will take you to the dashboard. At the dashboard, you can change the title, configure other settings, change the theme and other design elements, write posts and standalone pages, so on and so forth. You’ll also find the administration pages here, which allow you fine control, such as editing or removing inappropriate comments.
5. Select a theme
Most of the items in the dashboard are nonessential for the beginner, but in order to make this instant blog yours, you’ll have to change out that bland, default template. Do this by selecting the “Presentation” tab in the dashboard, and then select “Themes.” From here, you’ll see a large number of free designs. Choose the one that suits your tastes.??
6. Select a widget or two
Widgets are encapsulated functionality that you can drag and drop onto your blog. For instance, the calendar widget puts a comprehensive calendar on your blog that readers can use to navigate. In a default configuration, most users will drop a widget or two onto each sidebar.
It’s that simple. You now have your instant WordPress blog up and running. All that remains to do is write that first blog post or webpage. Note that by creating webpages rather than posts, you can use your free, instant WordPress account as a CMS rather than a blog.


3 Comments
greg urbano
10.20.2010
even though i have walked throught the above steps a while back it is always refreshing to see posts that cover the basics either as a refresher or for the first time for some of your blog readers
greg urbano´s last blog ..St Pete Photo Walk
Blogger
11.25.2010
Wonderful Article, I personally prefer self-hosted wordpress blog because there are numerous fun and useful plugins to make use of, and lots of customization can be done with it.
Blogger´s last blog ..Get Rid Of Bed Bugs
web sitesi marketi
12.08.2010
i using hostgator reseller, but i didnt undesrtand some parts, example; cpanel using, databasess, how can ? learn that?
There are no trackbacks to display at this time.