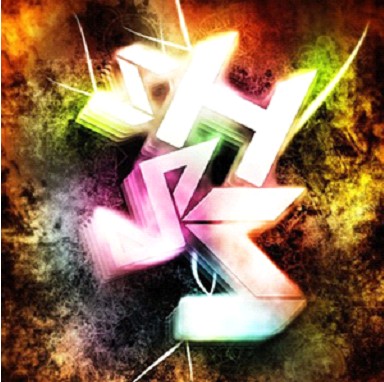
How to Create a Geometric Shaped Typography with Grungy Background

For our featured tutorial of the day, we’ll bring you a tutorial by one of the guys at PSDVault. Here you’ll learn how to create a cool Geometric Shaped Typography with Grungy Background using Photoshop.
The process is simple but the effects of end result are fabulous. You will also learn different tricks and techniques on how to create nice lighting and a smoky effect that include layer blending filter effects, image adjustment,s and custom brush sets.
The following are needed for this project:
To create a new document, open a 1200px * 1700px then fill the background layer with black. Make a new layer on top, grab the brush set that was provided above and paint some grungy texture. Set the brush flow and opacity to relatively low-level, around 30-40%. Also vary the brush set size when painting, try experimenting by mixing different ones together and check out the result it brings.
If you don’t like making a custom background, you can download a ready-made one here.
Next step is creating the text. Make a space and depth for the image and add layer mask. Adjust the lighting contrast then add Curves adjustment layer on top of previous layers.
Apply layer blending option to the merged layer. Tweak Drop Shadow, Bevel and Emboss, Gradient Overlay, Opacity. Also apply refine edge settings on the loaded selection of the last text layer.
For more details check out the complete tutorial in the link above.


